All blog posts
Product
Getting started with Faraday
Are you ready for your pre-purchase holdout validation?
Validate Faraday’s predictive accuracy risk-free with a holdout test—just upload your data, and we’ll prove our models work before you commit.


Nate Novotny &
Ben Rose
on
This post is part of a series called Getting started with Faraday that helps to familiarize Faraday users with the platform
See our complete guide: How to get started with predictive AI in minutes.
Before committing to any predictive modeling platform, you need to know if their services actually work for you. That’s where a validation test comes in. Here at Faraday, a validation test (such as a holdout or cross validation) lets you see how well our AI models can predict real outcomes—before you even sign up. By using your historical data, we can prove the accuracy of our models without ever seeing your future results. Essentially, if the model is predictive, that means we're a good fit for helping you decide who to send direct mail to, how to accept and organize leads with lead scoring, and more. It’s the best way to validate AI-driven predictions—before you invest, and without any risk.
How does it work?
A holdout test works by splitting your historical data into two sets: one we see (pulled from your recent conversion data, this is known as the test set) and one we don’t (pulled from the most recent conversion data, this is known as the holdout). First, we use only the training set to build a predictive model. Once it is built, we generate predictions and compare them against the conversions that were ‘held out.’ If our model accurately predicts those hidden outcomes, you can be confident in its ability to drive real results.
Cross-validation works similarly, but instead of holding out a single set for testing, it splits the data multiple times into different training and validation sets. Each subset takes a turn as the validation set while the rest are used for training, ensuring a more comprehensive assessment of model performance.
If you’d like a more detailed description of how this process works, take a look at this blog from our COO, Robin Spencer, or for more detailed setup instructions, see this blog from our CEO, Andy Rossmeissl.
Validation testing gives you a real-world view of the model’s accuracy, providing the reassurance that our predictions will stand the test of time—by making sure the AI isn't just memorizing past data, but identifying trends that matter going forward. But for the test to work, we need the right data—uploaded securely. Here’s what you need to know to get results as quickly as possible.
What data do you need?
To set up a validation test, you must provide names and dates for both leads and conversions.
Leads
We need to know when someone became a lead. Use the Leads template to provide this information, making sure to include the date for each lead. A leads file should ideally include the following fields:
- First name
- Last name
- Address (Street, City, State, Zip)
- Optional: Email, Email Hash, Phone
- Date (e.g., the date a lead was added to your system or when they received a mailer)
These personally identifiable details (PII) allow us to match leads to our demographic dataset. Without PII, we won’t be able to validate predictions, and the validation test cannot be run.
🚧 Note on date formatting: You can format the date in any standard way (e.g., YYYYMMDD, MM/DD/YYYY) and our system will automatically handle it.
Conversion event data (transactions)
We also need the dates of individual transactions—along with optional details like product type and amount. Use the Orders/Purchases/Transactions template to submit this data. The conversion file should have the same structure as the leads file (first name, last name, address, etc.), but instead of lead dates, it should contain conversion dates.
Conversions (customer-level data)
Customer-level conversion data (e.g., just the first or last transaction date) is not ideal because we need each individual transaction date. Although you can provide customer-level data using the Customers template, we typically do not use it for a validation test.
Uploading your data securely
To keep your data safe, always upload it through the Faraday dashboard in the Datasets section. You can also connect your platform to your existing data warehouse, but as this integration is more involved, this step would likely come after your successful validation test has been completed and you’ve decided to sign up with Faraday!
🚧 Do not email us any data. The Faraday dashboard is the only secure place to upload files.
Steps to upload:
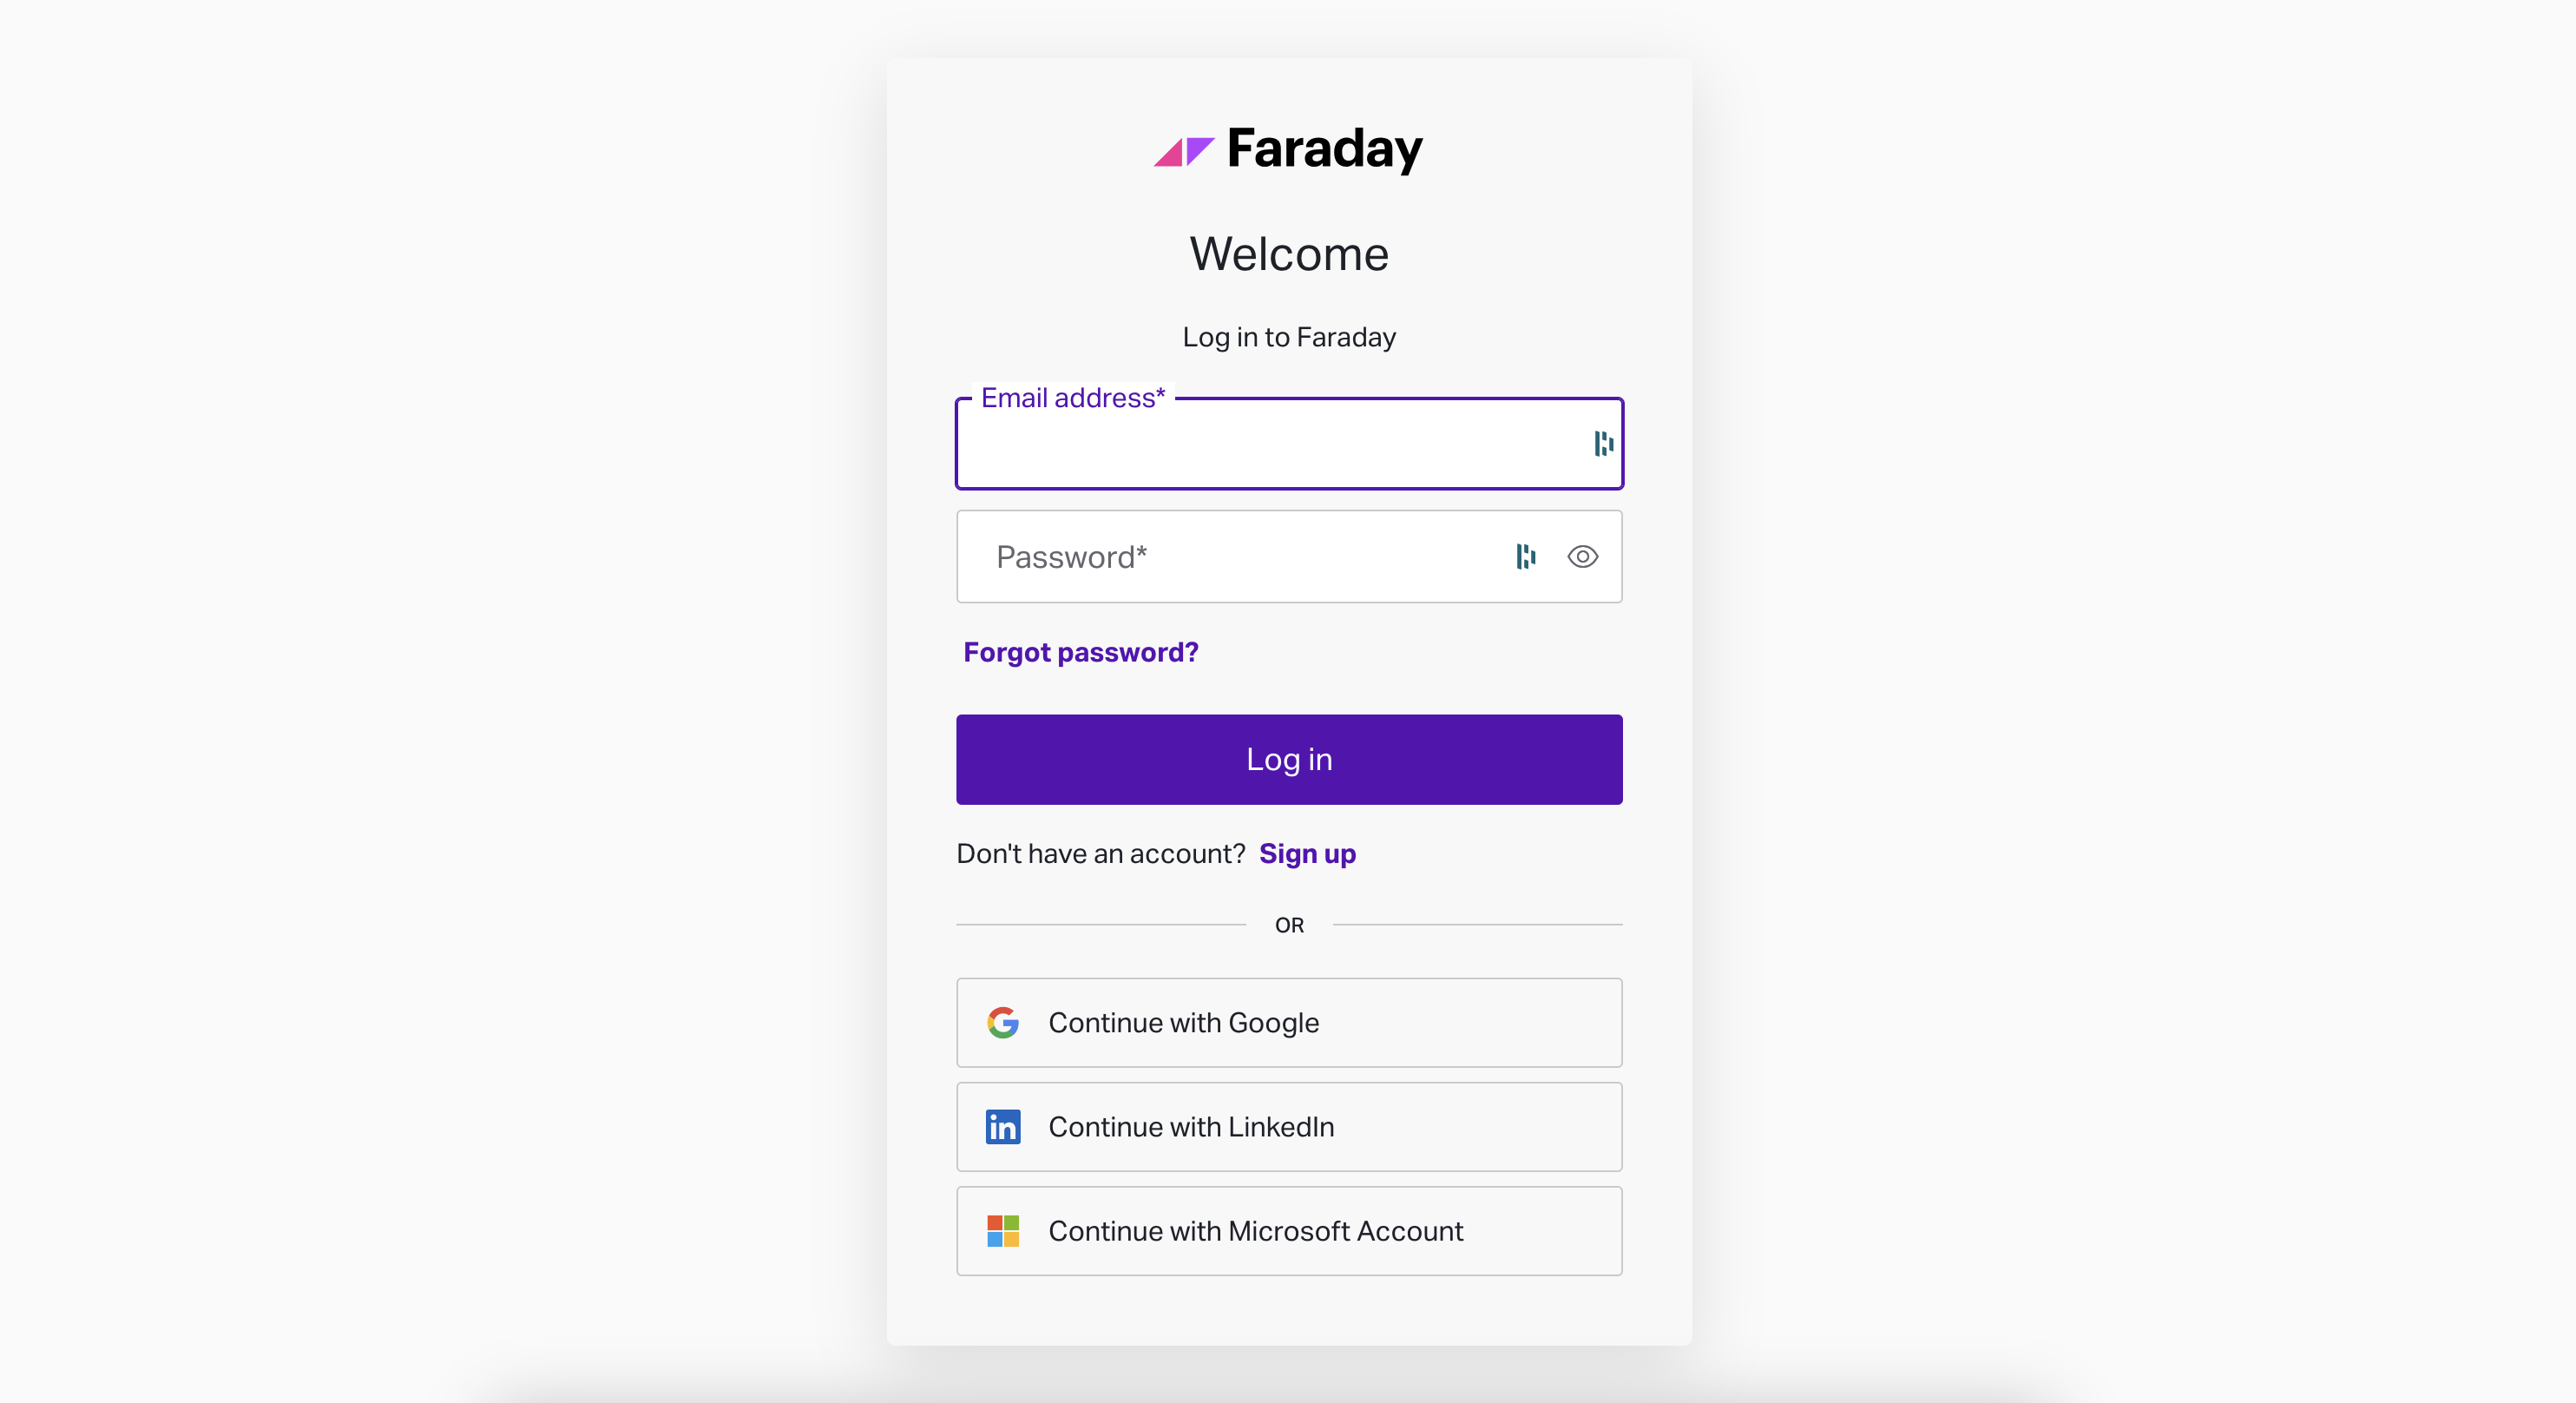
- Go to app.faraday.ai and sign in.
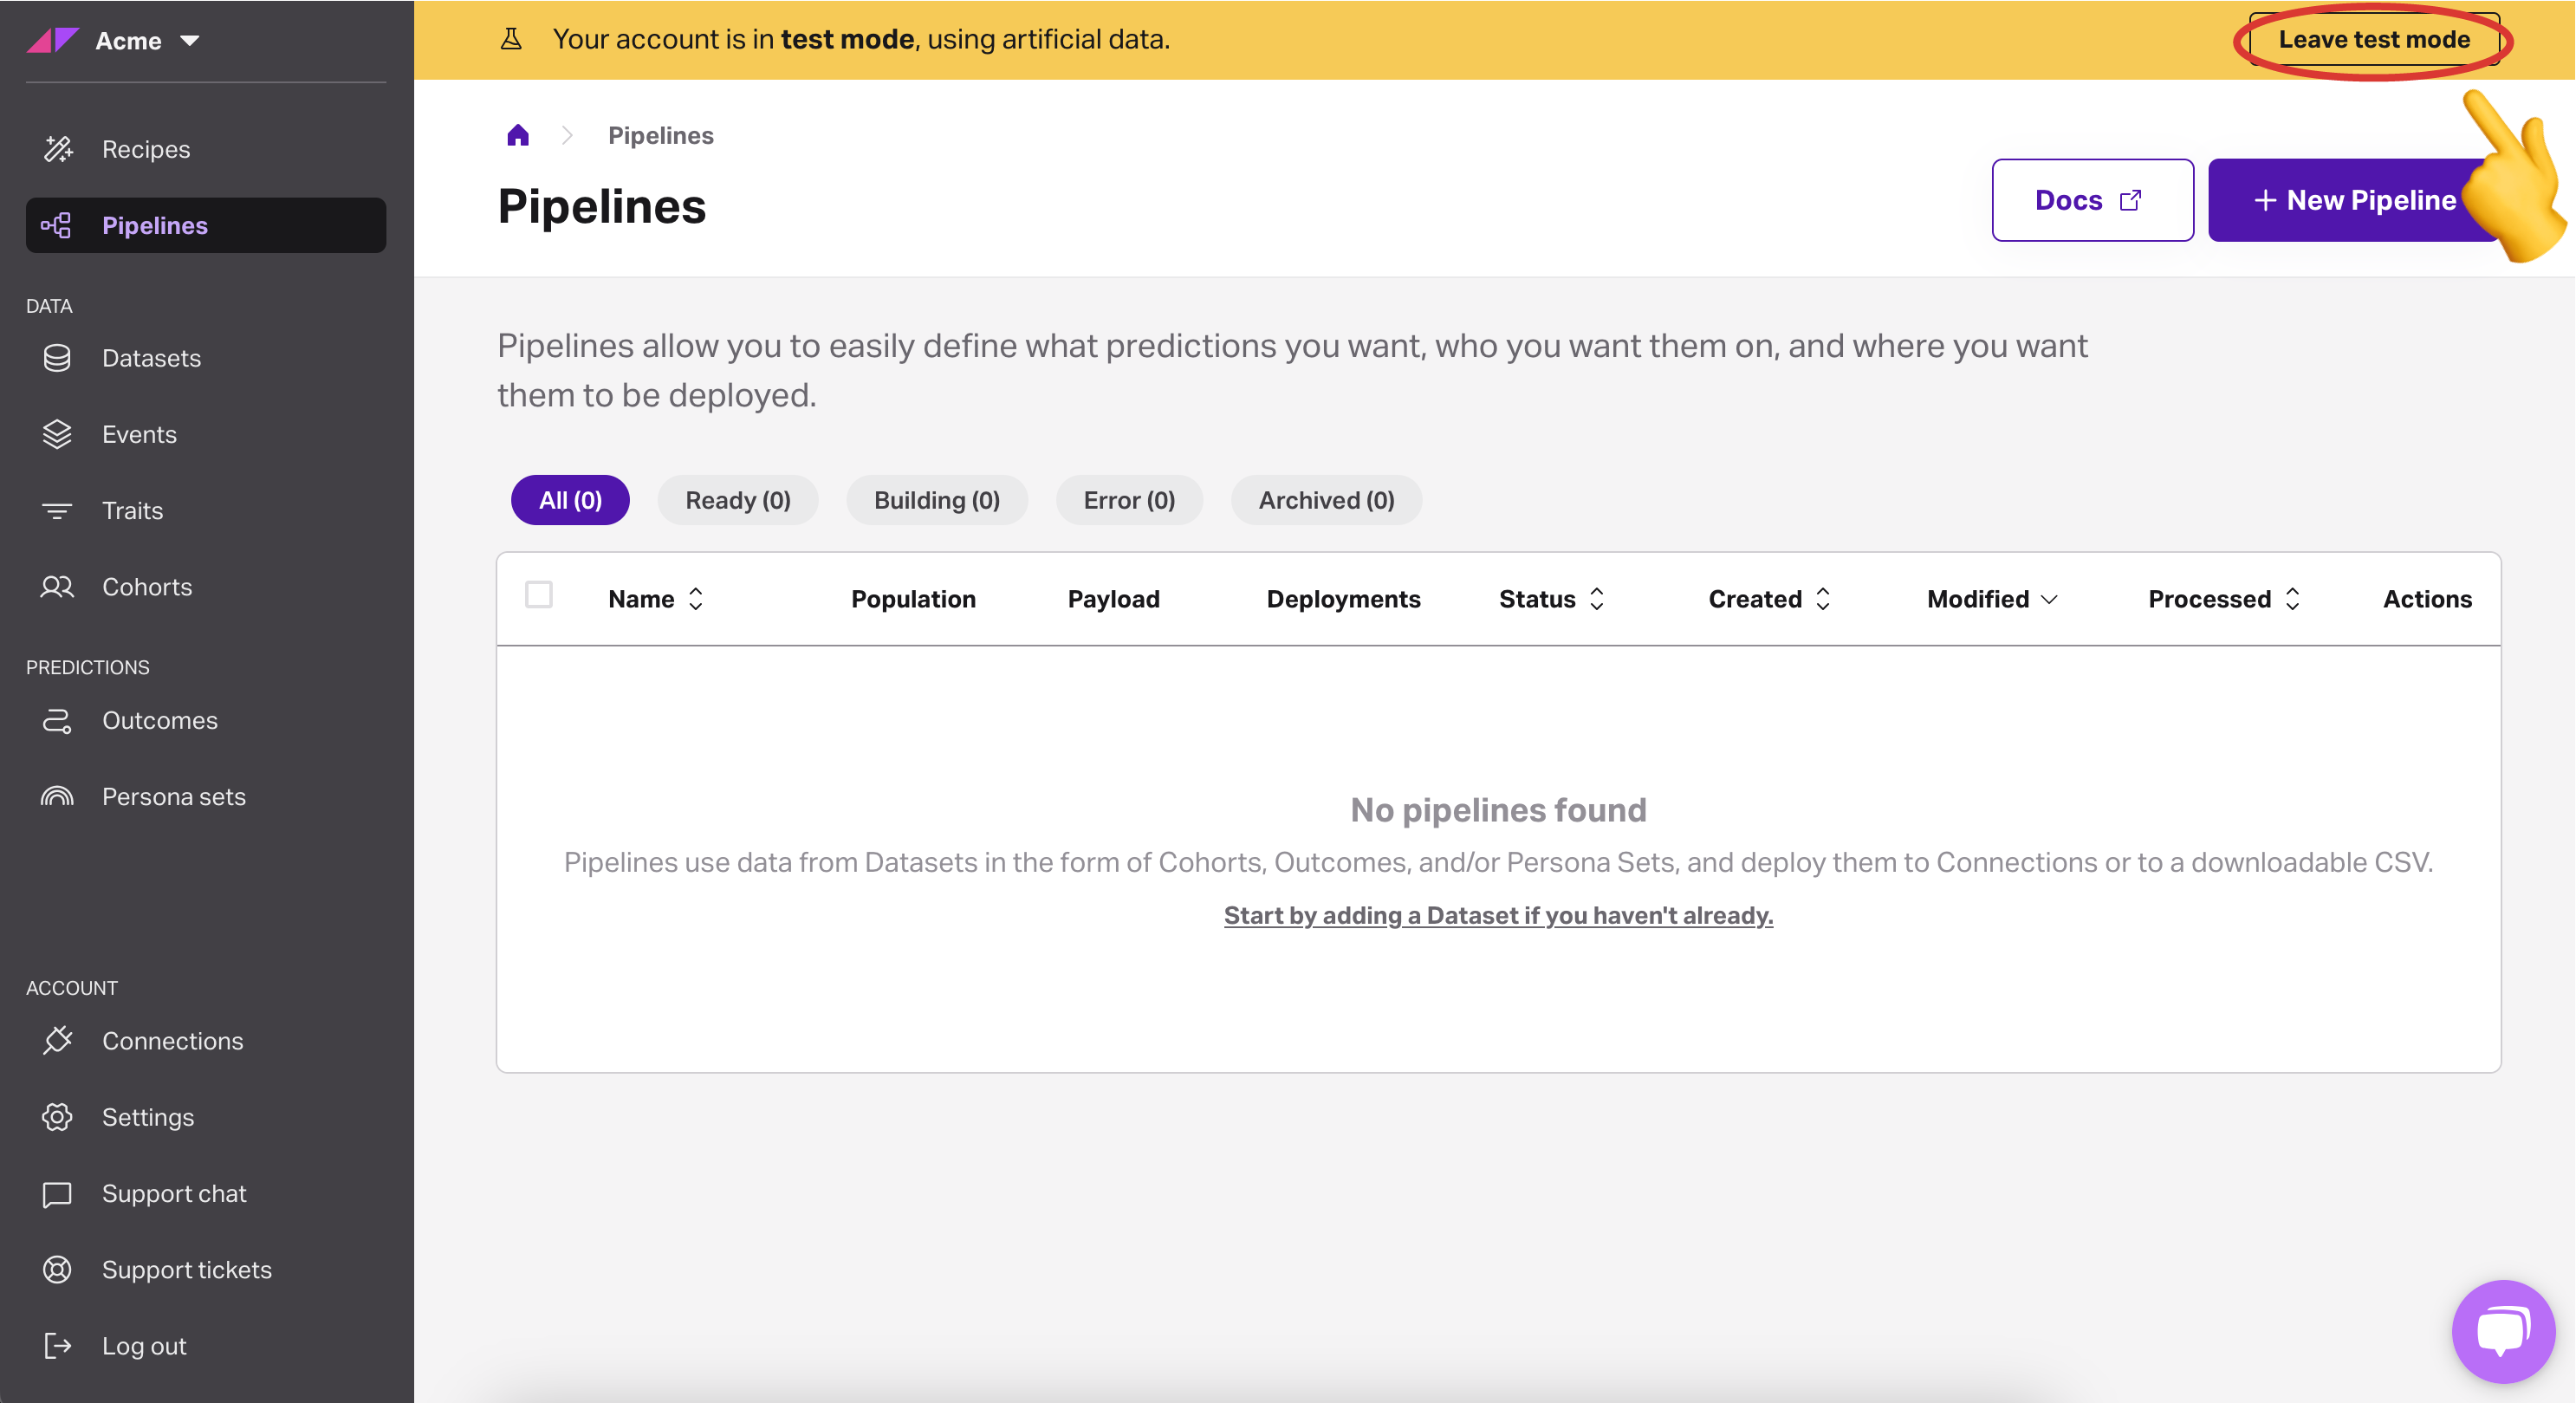
- If you see a test mode warning, disable it before uploading your data.
- Navigate to the Datasets section.
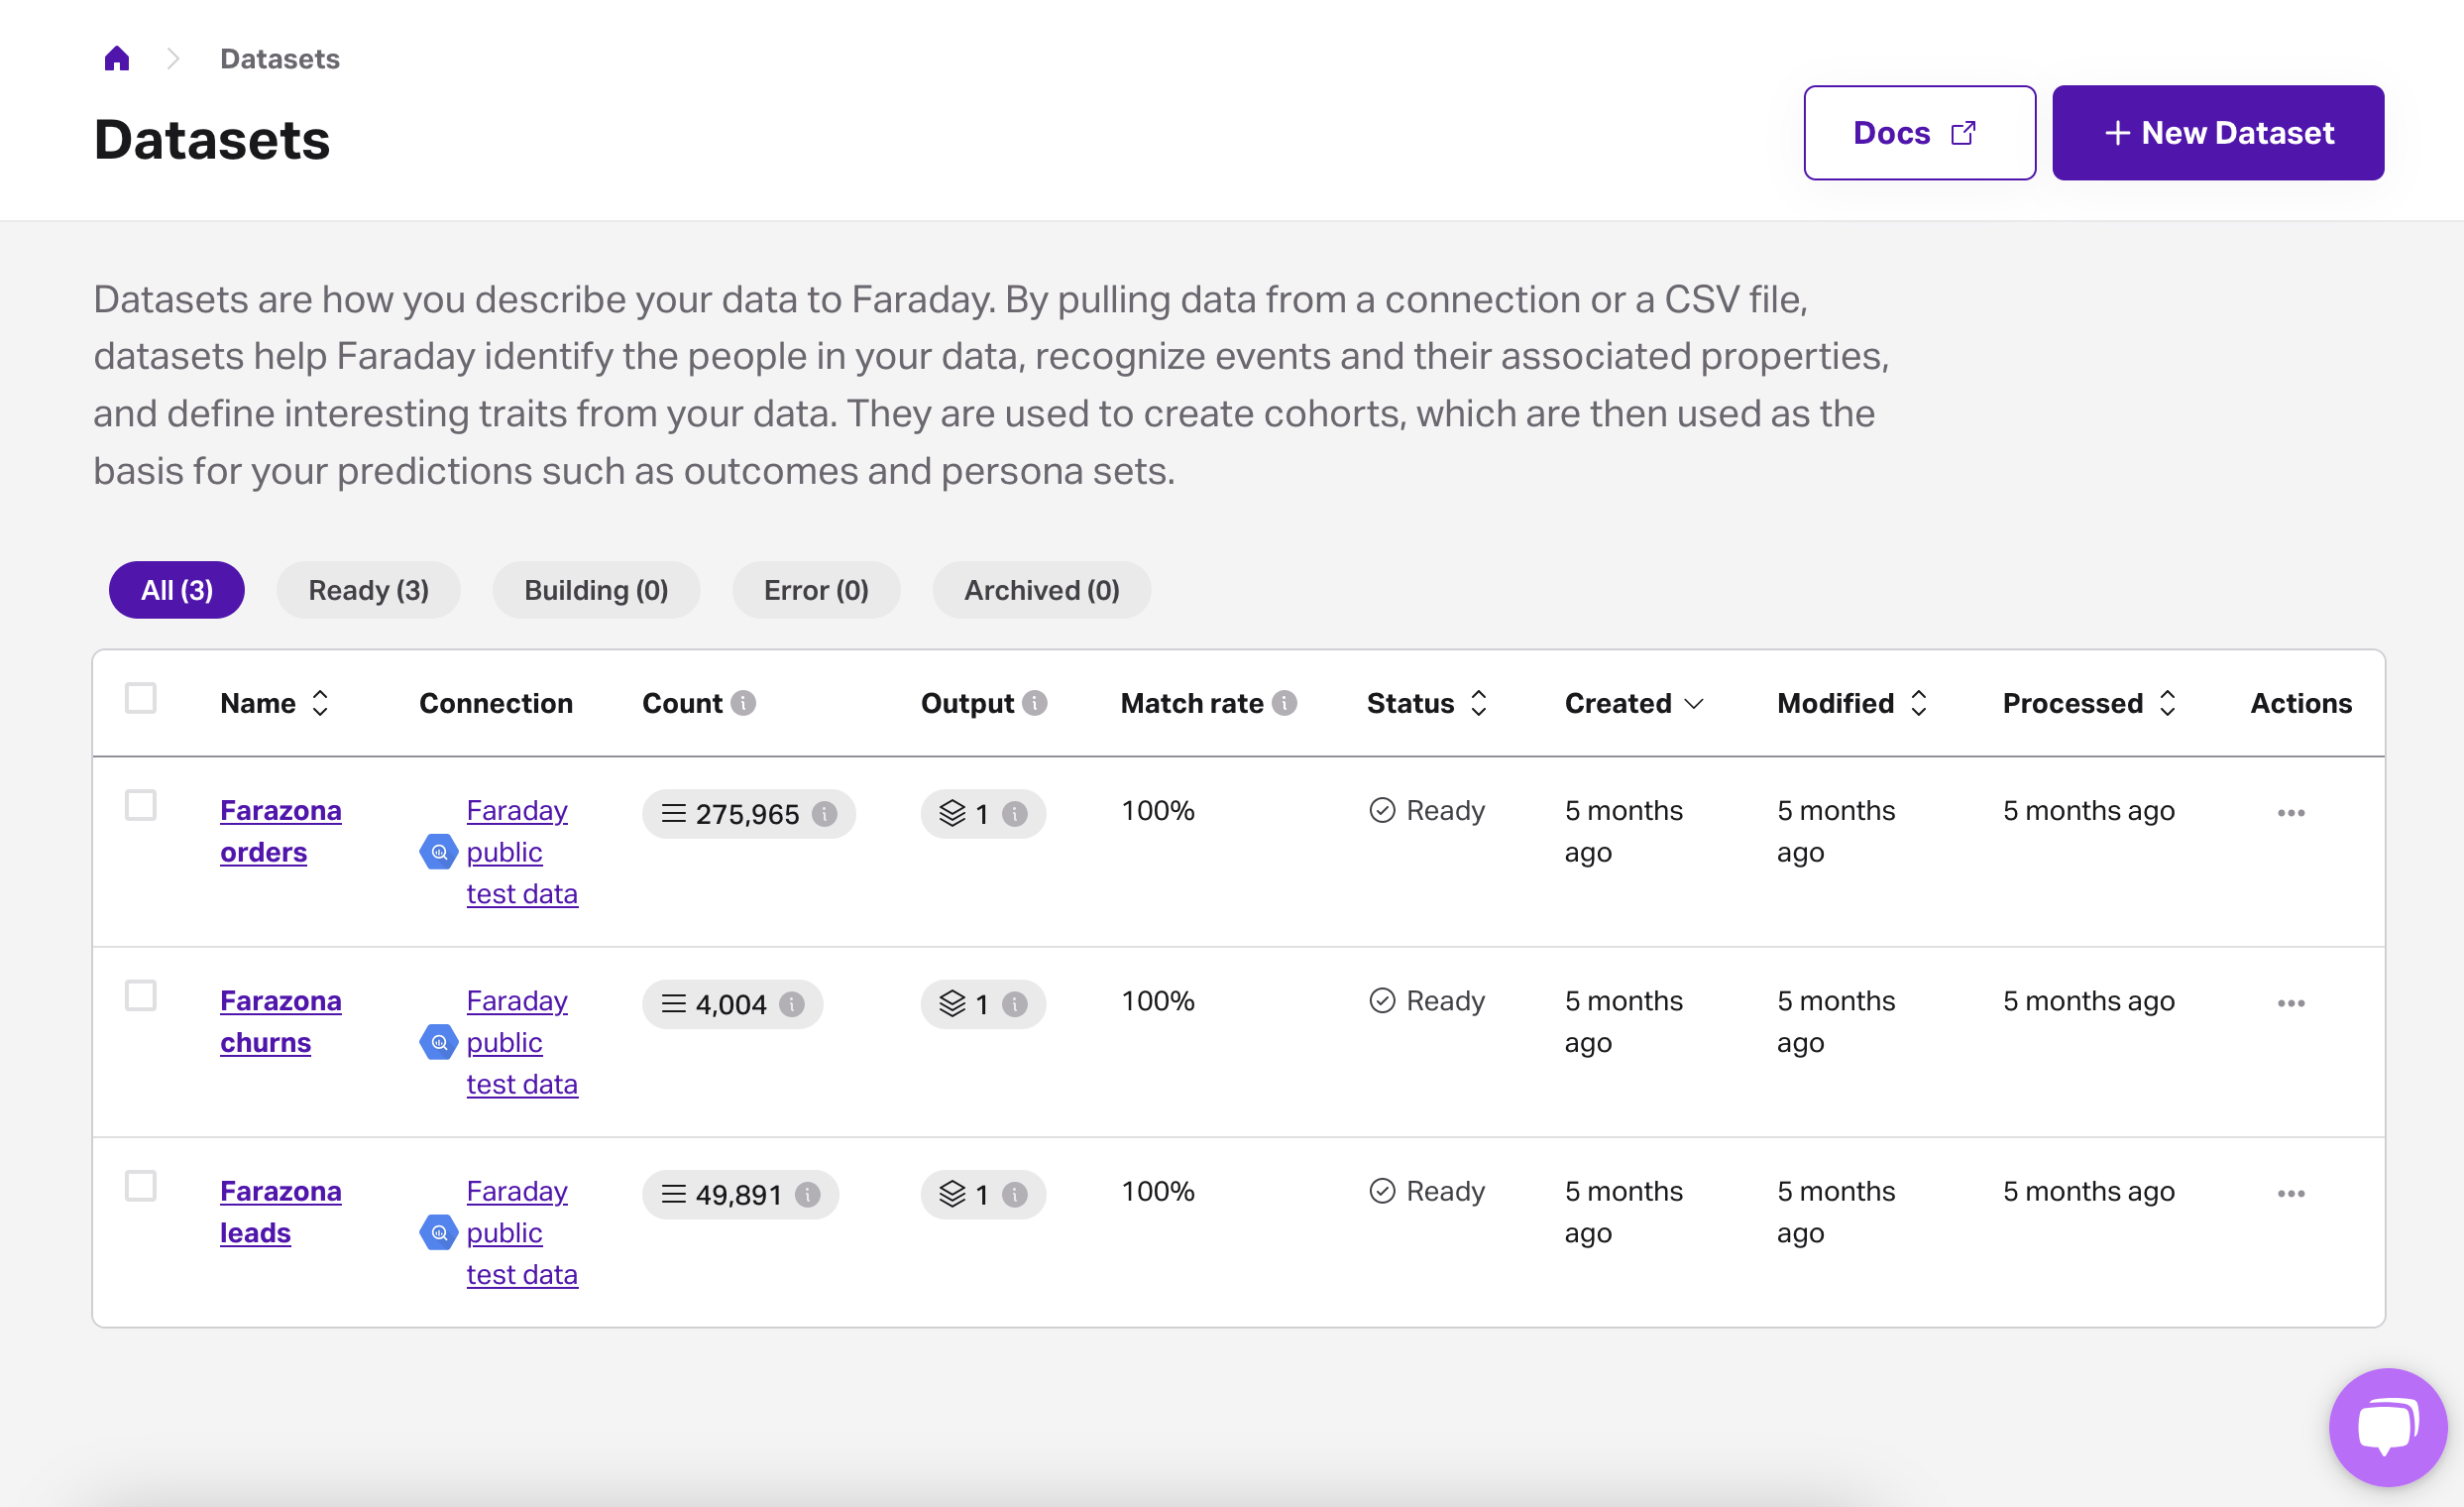
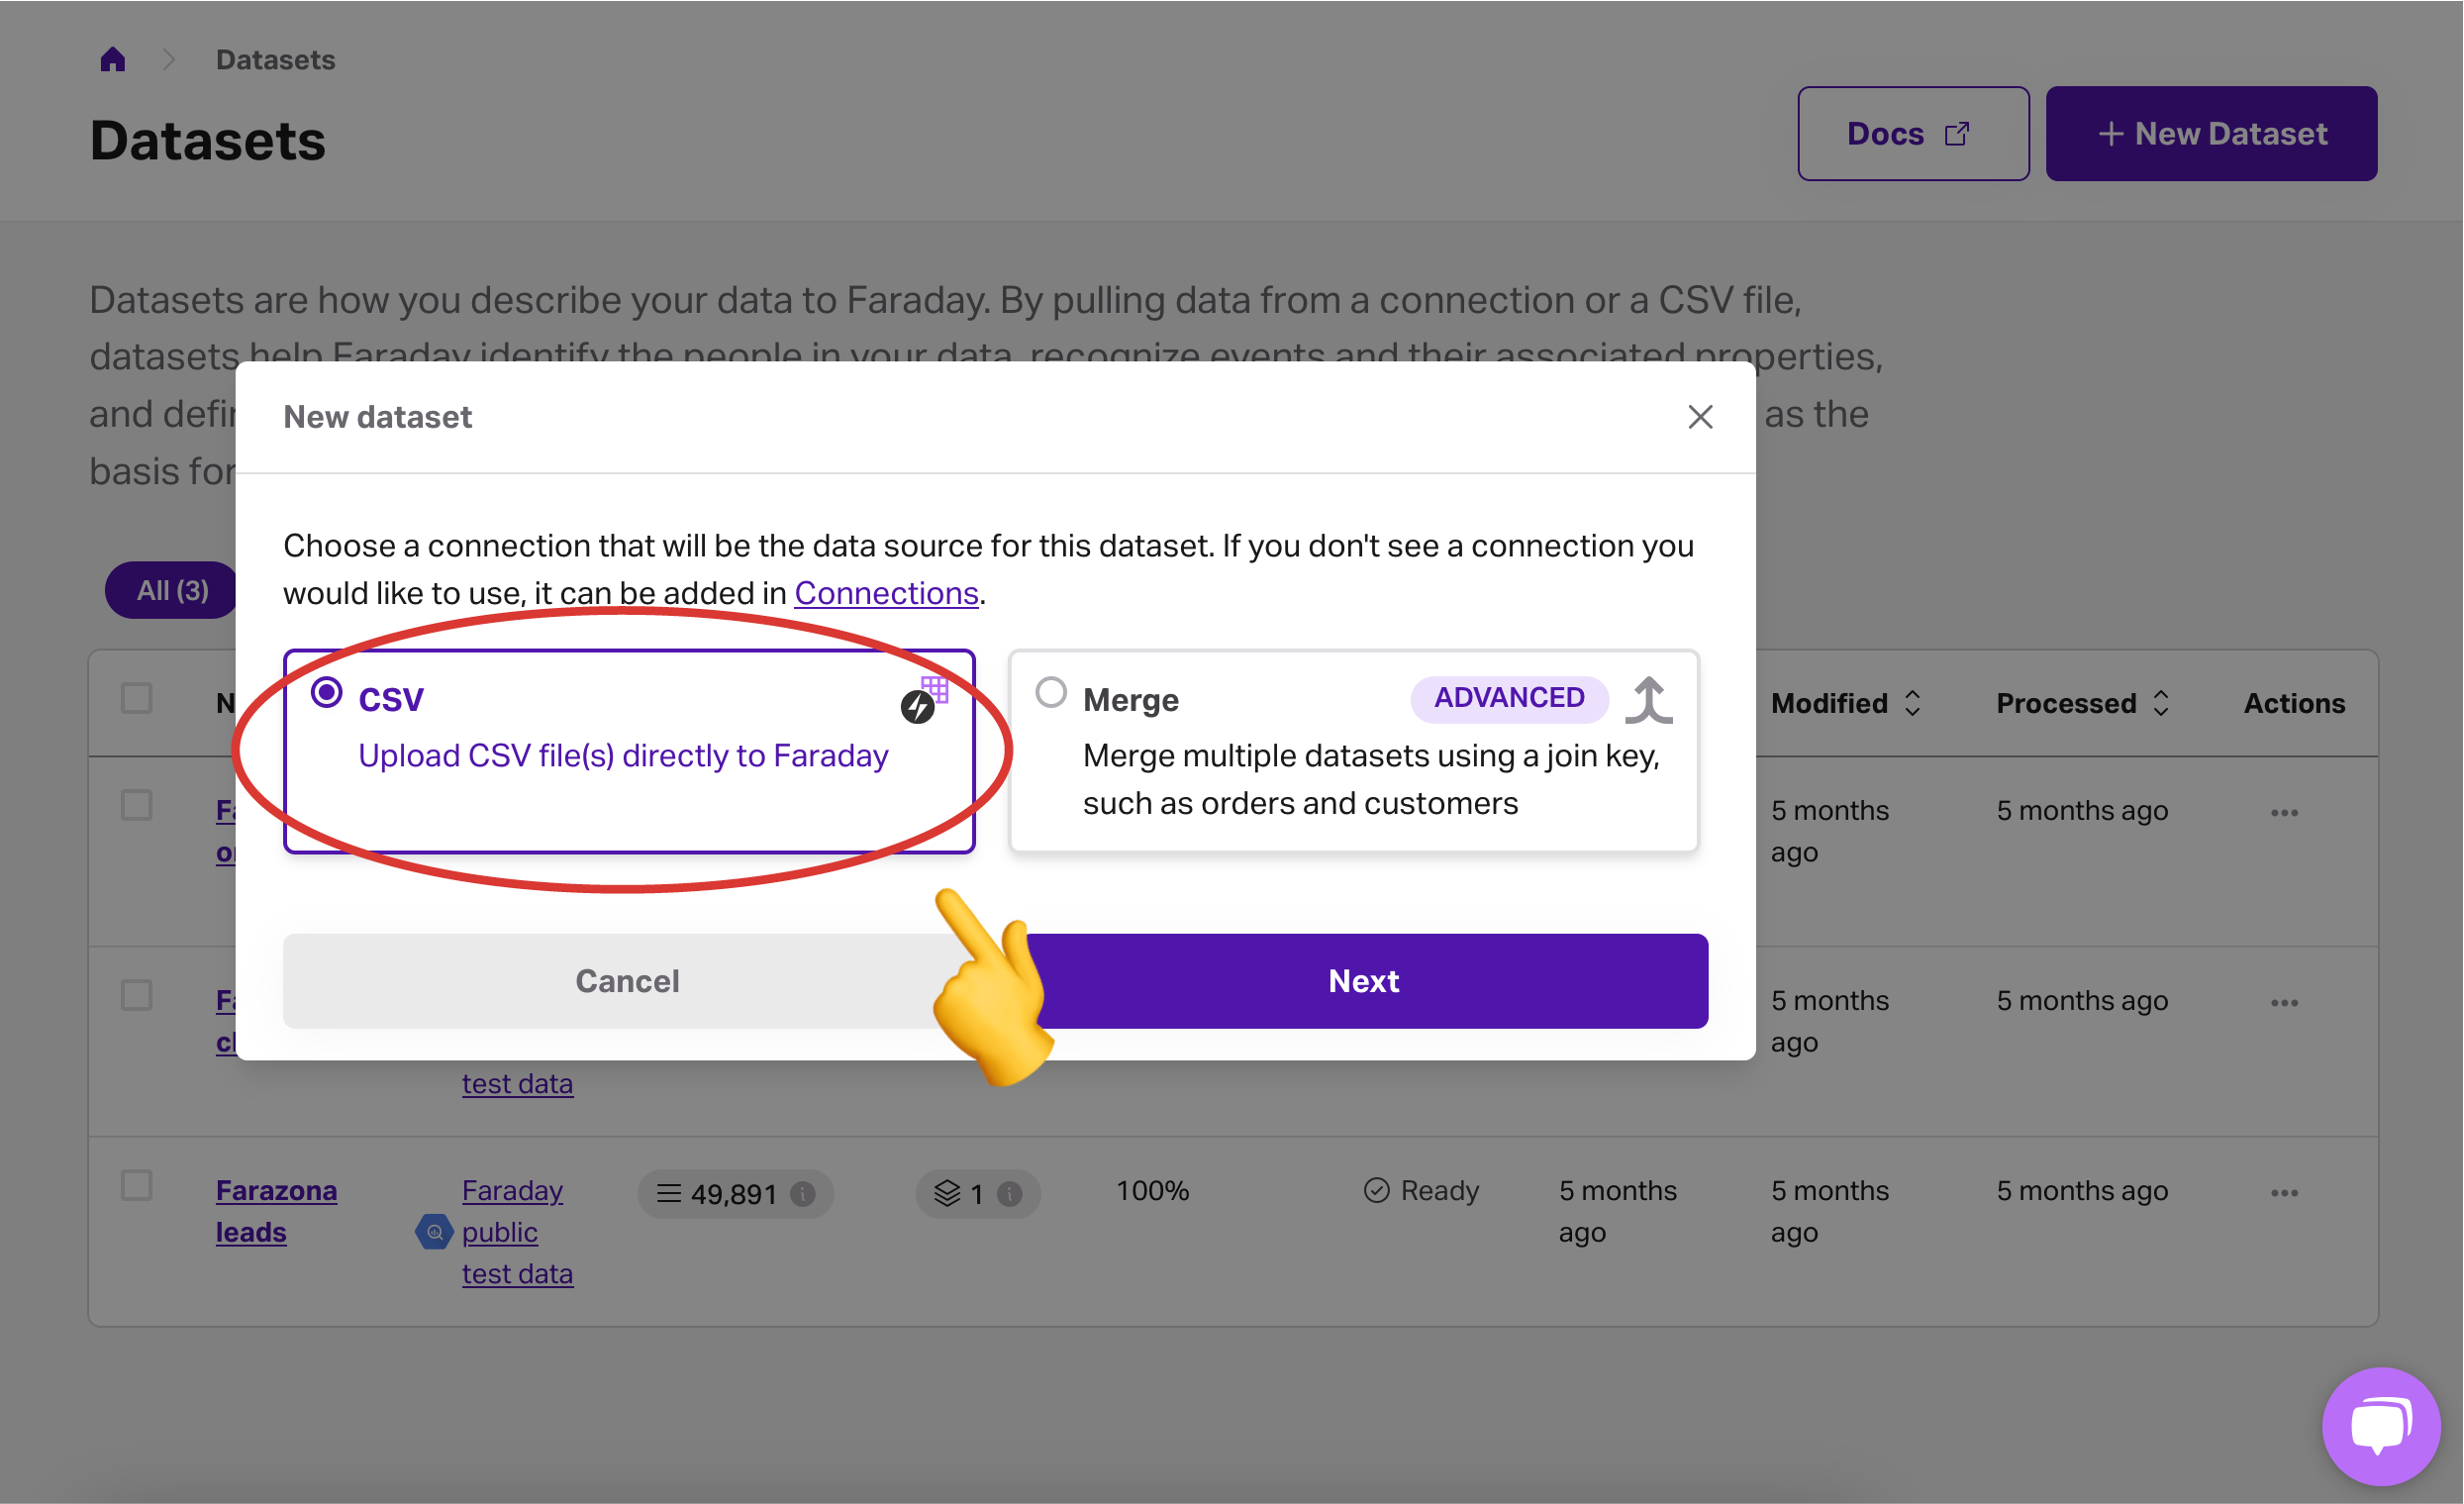
- Click New Dataset and select CSV.
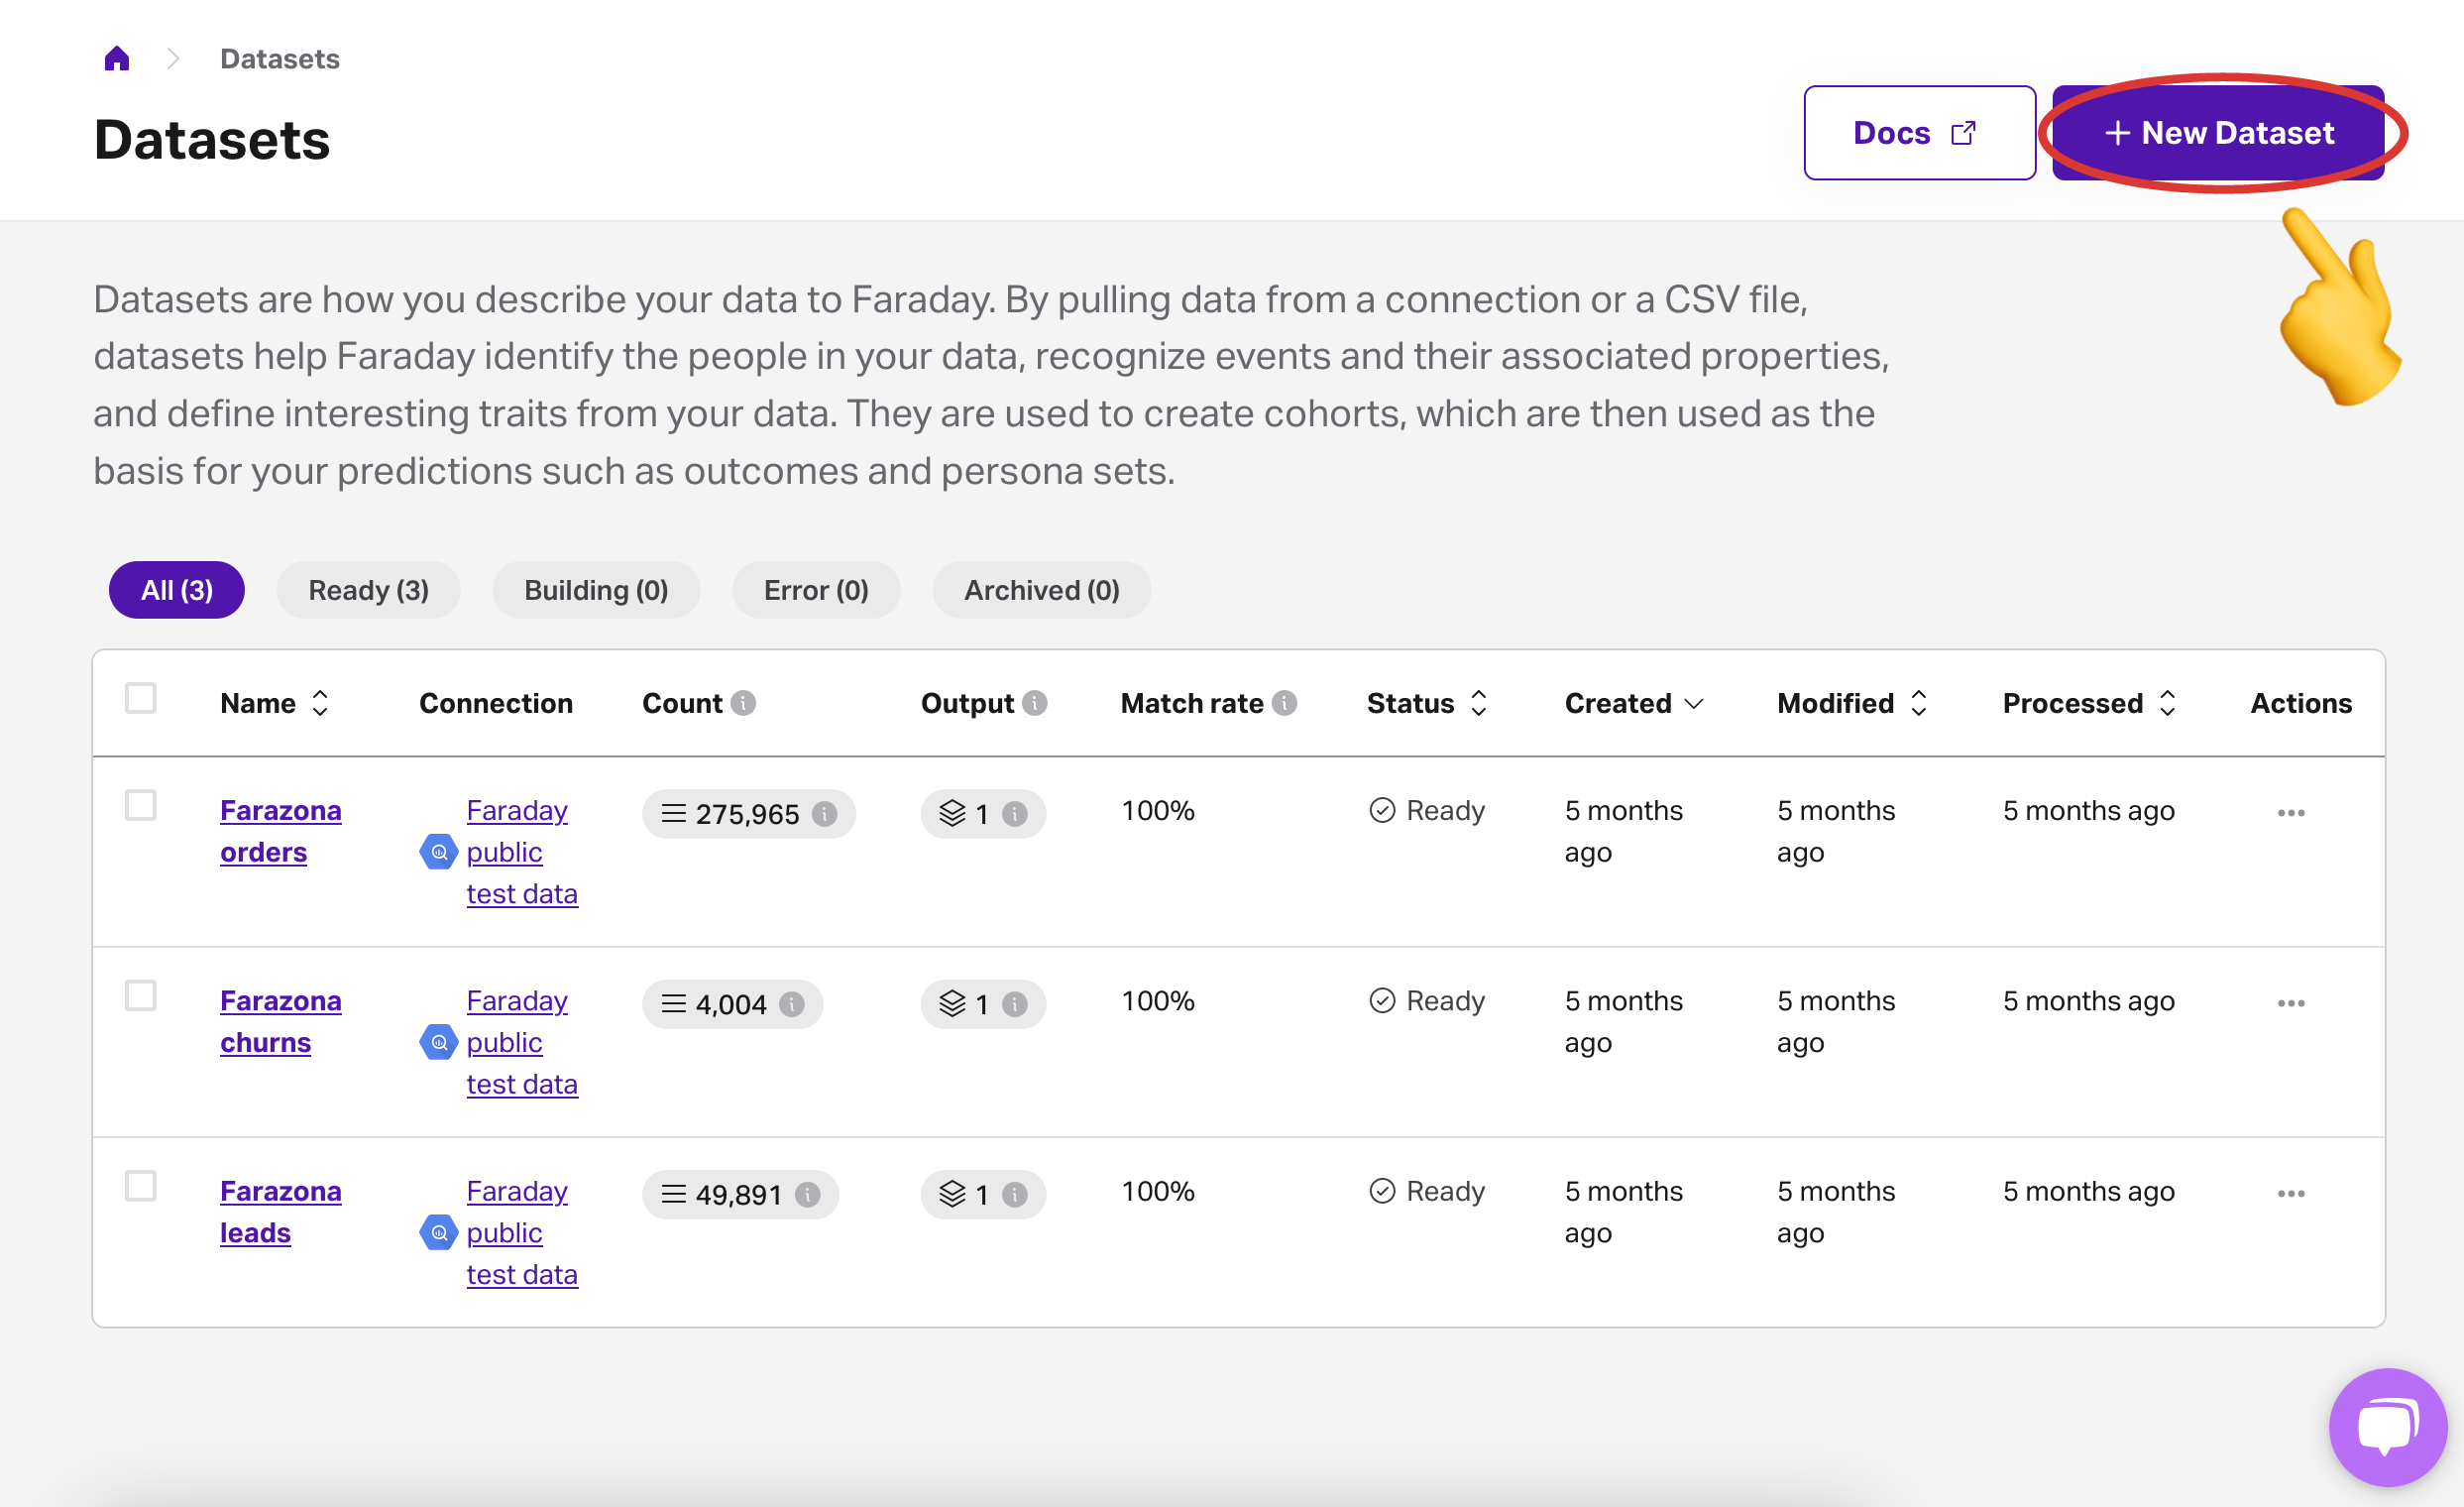
- Upload your leads.csv file and your conversions.csv file.
Want a little more help?
If you're still unsure how to set up your validation test, we've got you covered. Watch this video walkthrough with Faraday CTO Seamus to see the process step by step.
And if you still have questions, reach out to us at support@faraday.ai—we're happy to help!
And that’s it! Once uploaded, we’ll take care of the rest. Ready to get started? Upload your data today and see how Faraday’s AI models can drive real results for your business.
Nate Novotny
Nathan Novotny is Faraday’s Director of General Business, partnering with clients to drive use cases like lead scoring, personalization, and data appends with tailored predictive insights. He helps brands put richer consumer context to work through Faraday’s data and streamlined AI, turning customer data into practical, deployable outcomes. Before Faraday, Nathan held go-to-market and customer-facing leadership roles at Tango, Whimsical, and Clearbit. He holds a BBA in Marketing & Sales from the University of Washington and is based in the Greater Seattle area.
Ben Rose
Ben Rose is a Growth Marketing Manager at Faraday, where he focuses on turning the company’s work with data and consumer behavior into clear stories and the systems that support them at scale. With a diverse background ranging from Theatrical and Architectural design to Art Direction, Ben brings a unique "design-thinking" approach to growth marketing. When he isn’t optimizing workflows or writing content, he’s likely composing electronic music or hiking in the back country.

Ready for easy AI?
Skip the ML struggle and focus on your downstream application. We have built-in demographic data so you can get started with just your PII.