How to create a geotargeted audience with Faraday’s API
A guide on creating a geotargeted audience using Faraday's API.


Faraday’s customer behavior predictions have a wide variety of use cases. From enhancing your customer engagement through personalization via bespoke personas to embedding predictive lead scores in your field sales app to increase rep productivity and drive growth, there’s no shortage of applications.
One application that’s proving to be more and more popular with our clients is geotargeting audiences based on the locations of physical stores and branches to enable personalized campaigns with a focus on retail shoppers. What this means is that these clients are able to specifically find the most likely buyers within a certain geographic radius around a point of interest, then run campaigns to draw people to their outlets, branches, and other physical locations.
In this guide, we’ll walk through how to create a geotargeted audience with Faraday.
How to geotarget with Faraday
Connect your data
To start, you’ll want to make sure that you have a connection created to wherever your data is stored. Doing this allows your customer predictions to seamlessly deploy back to your stack. If you’ve already got your connection created, double check that your dataset is ready as well, as that’s how you’ll describe your data to Faraday–who’s who and what pieces of data mean what.
Both of these resources can be created with Faraday's API via the createConnection and createDataset requests, respectively. While these aren't required in order to complete the steps in this guide, they're required for you to be able to deploy your predictions directly back to your stack, or to add additional event-specific parameters mentioned in the cohort section.
Create your place
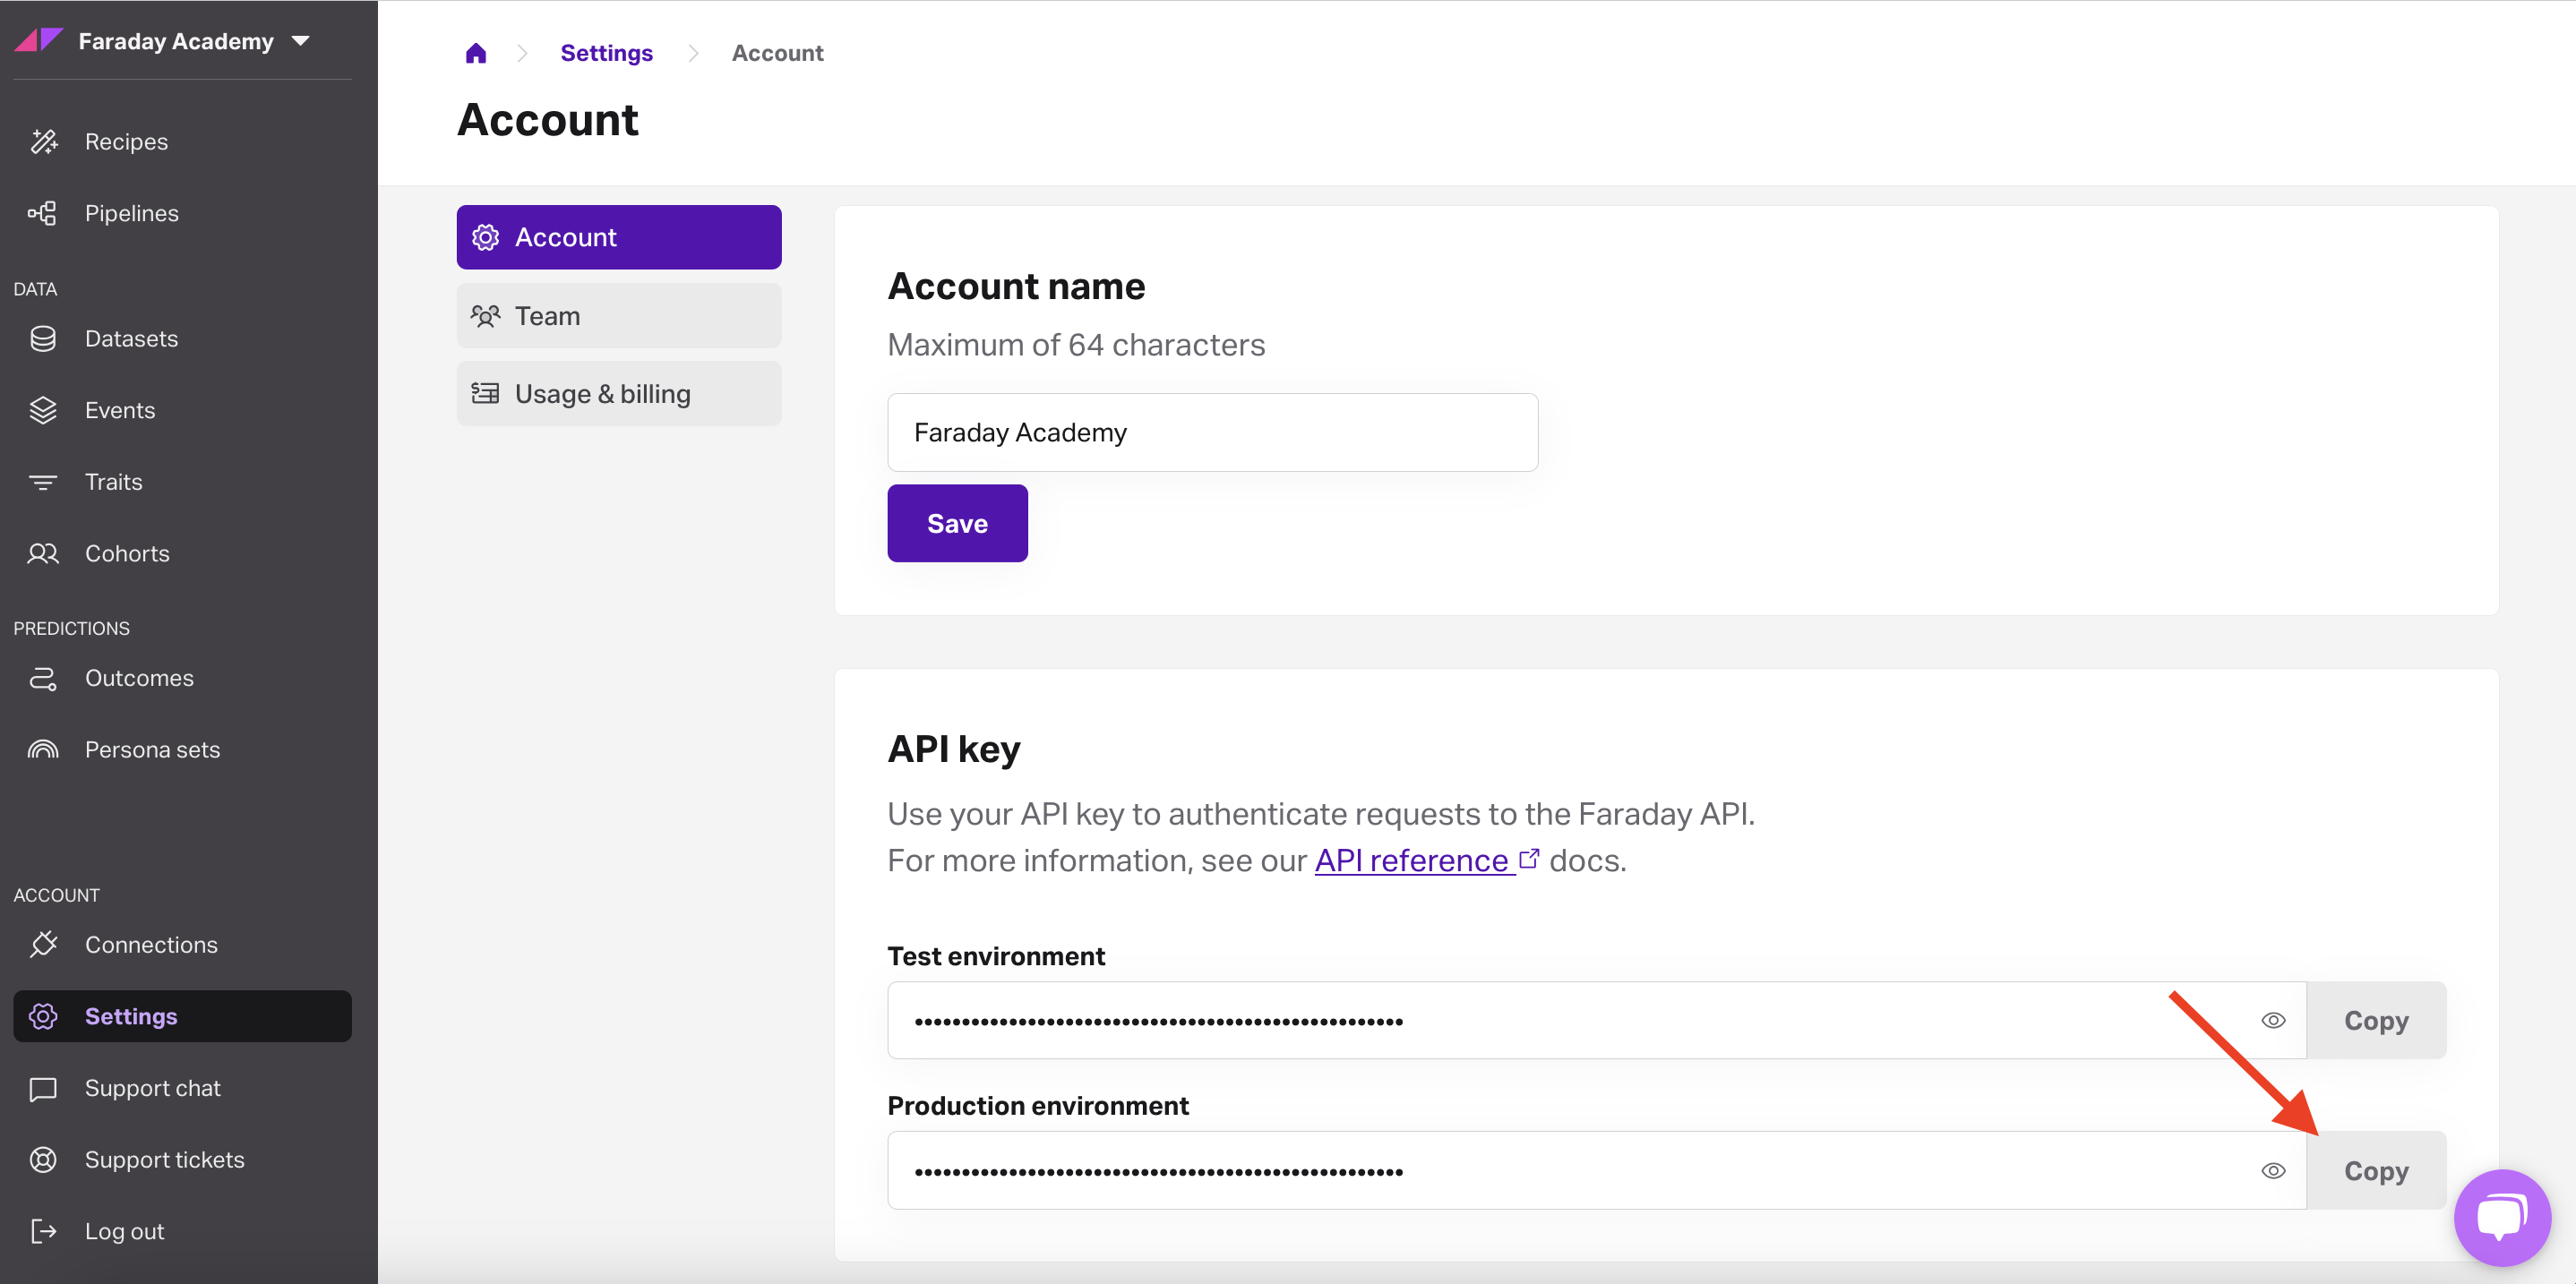
In Faraday, you can create a point of interest–a place–around which you can create radius-based cohorts, or groups of interesting people. To do this, you’ll need your Faraday API key, which can be found in the account tab of your settings page.
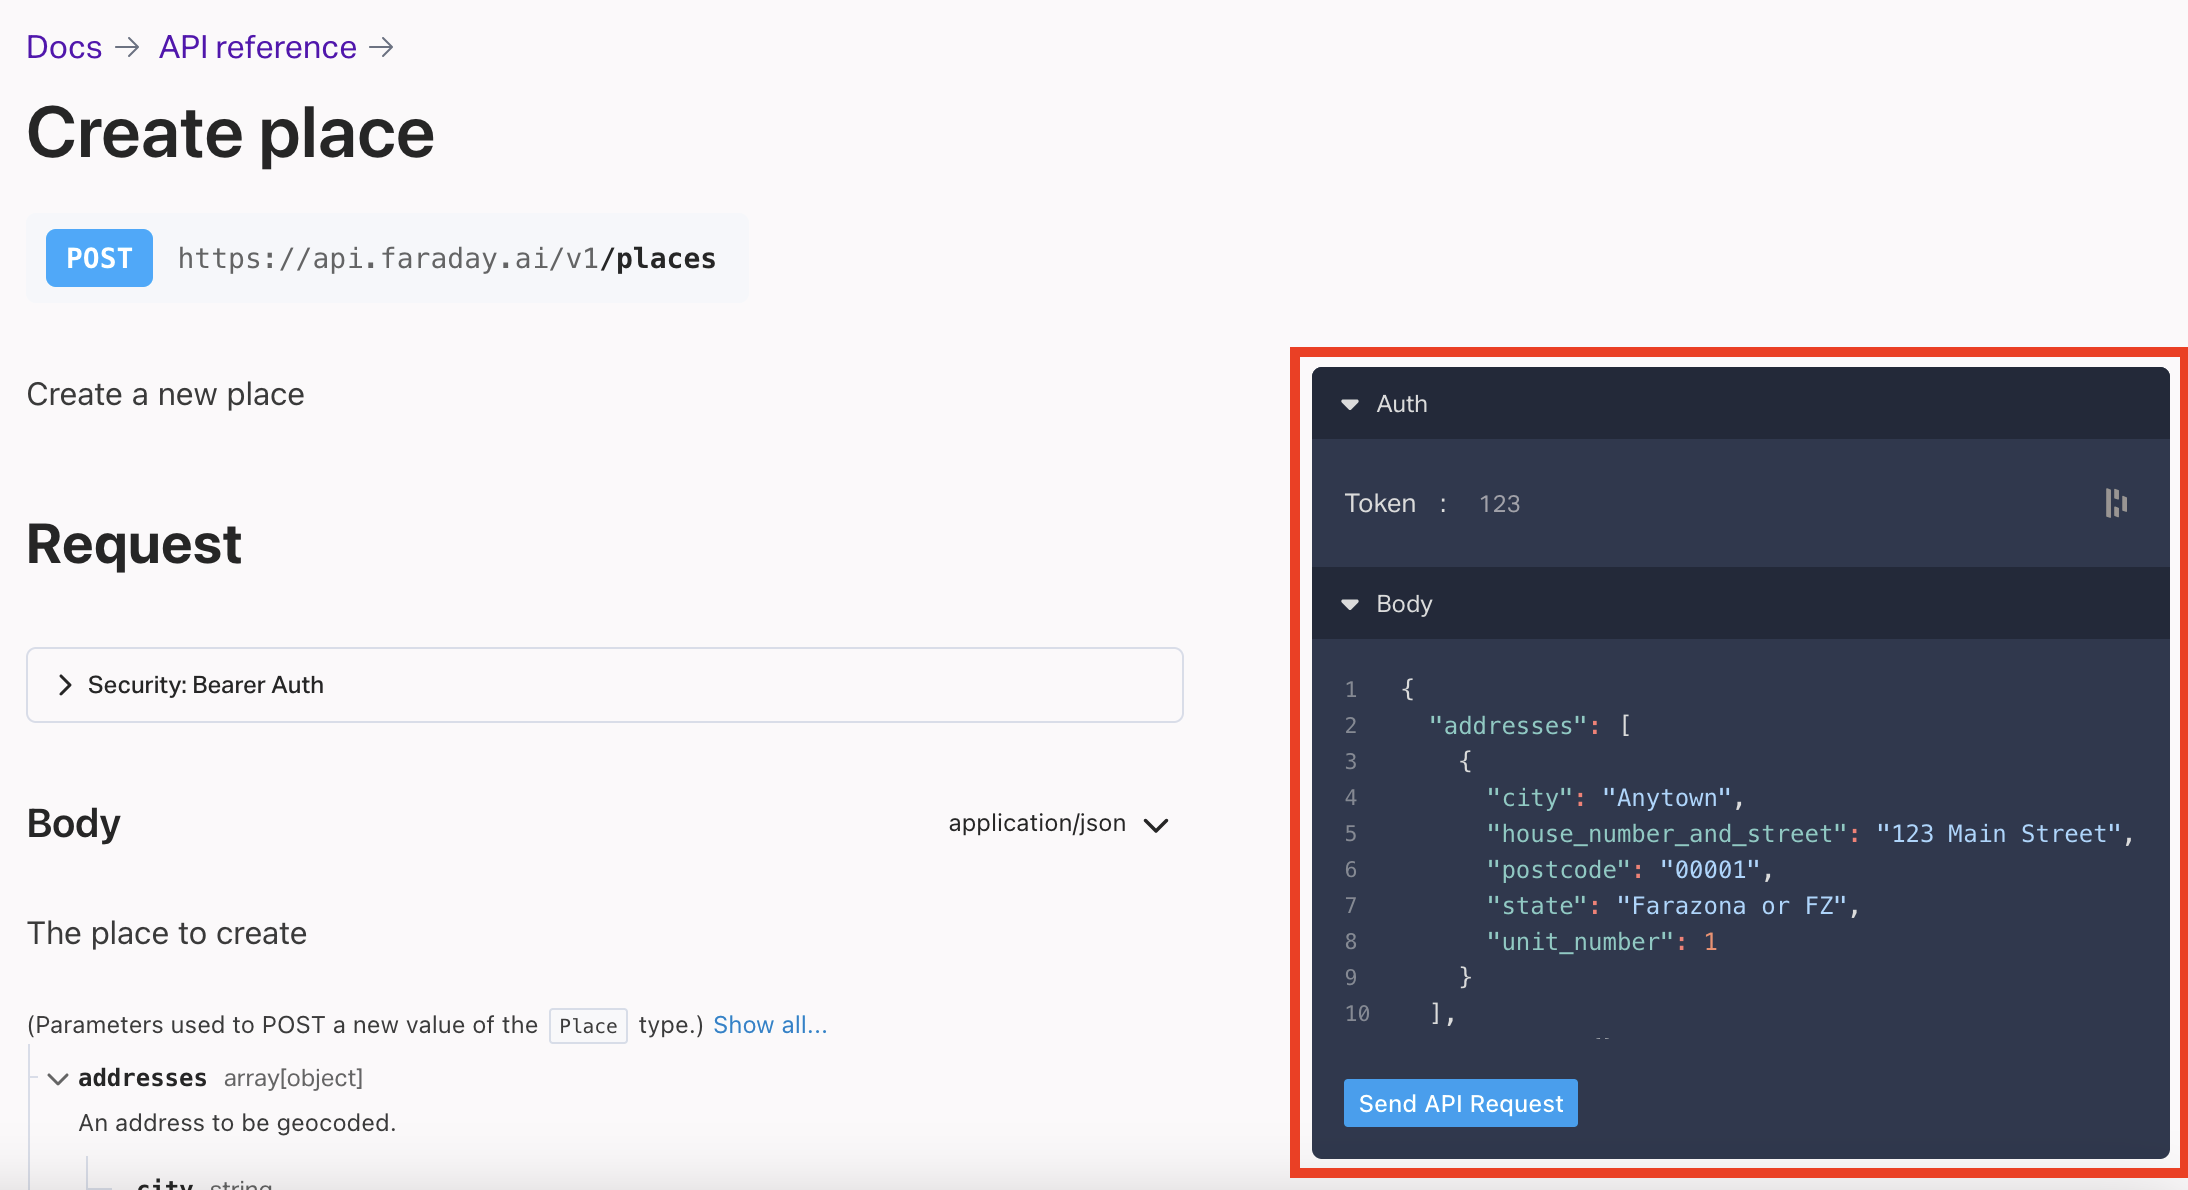
Once you’ve copied your API key, head over to the createPlace request in API reference docs. Here, you’ll paste your API key into the Token field, then update the addresses field to include the address of the point of interest.
A place can include more than one address, so if you’d like to take advantage of a radius around all of your locations, you can add them all to a single place request within the address parameter. Here’s what your request might look like for a single address, though:
{
  "addresses": [
 {
   "city": "Burlington",
   "house_number_and_street": "431 Pine Street",
   "postcode": "05401",
   "state": "VT"
 }
  ],
  "name": "My Storefront"
}
Once your address info has been entered–don’t forget to give the place a name, like “My Storefront” above–then click send API request to create the place.
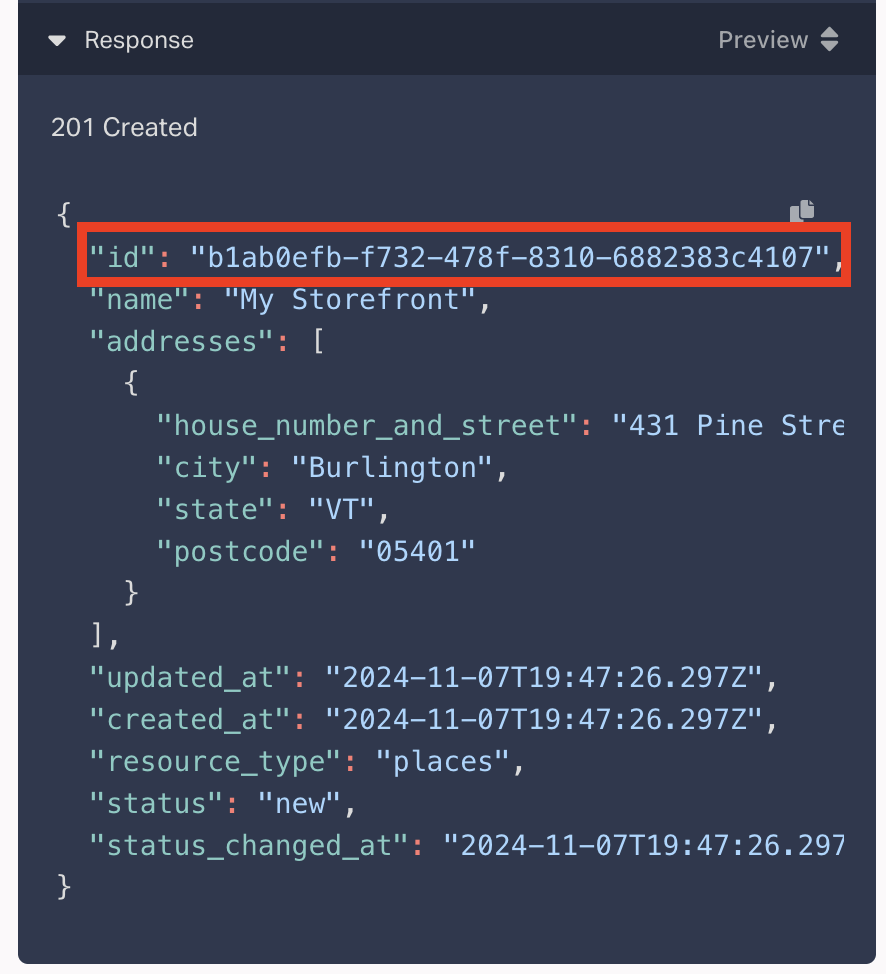
In the response window, grab the place ID, which you’ll use to create your radius-based cohort around your new place.
Create your cohort
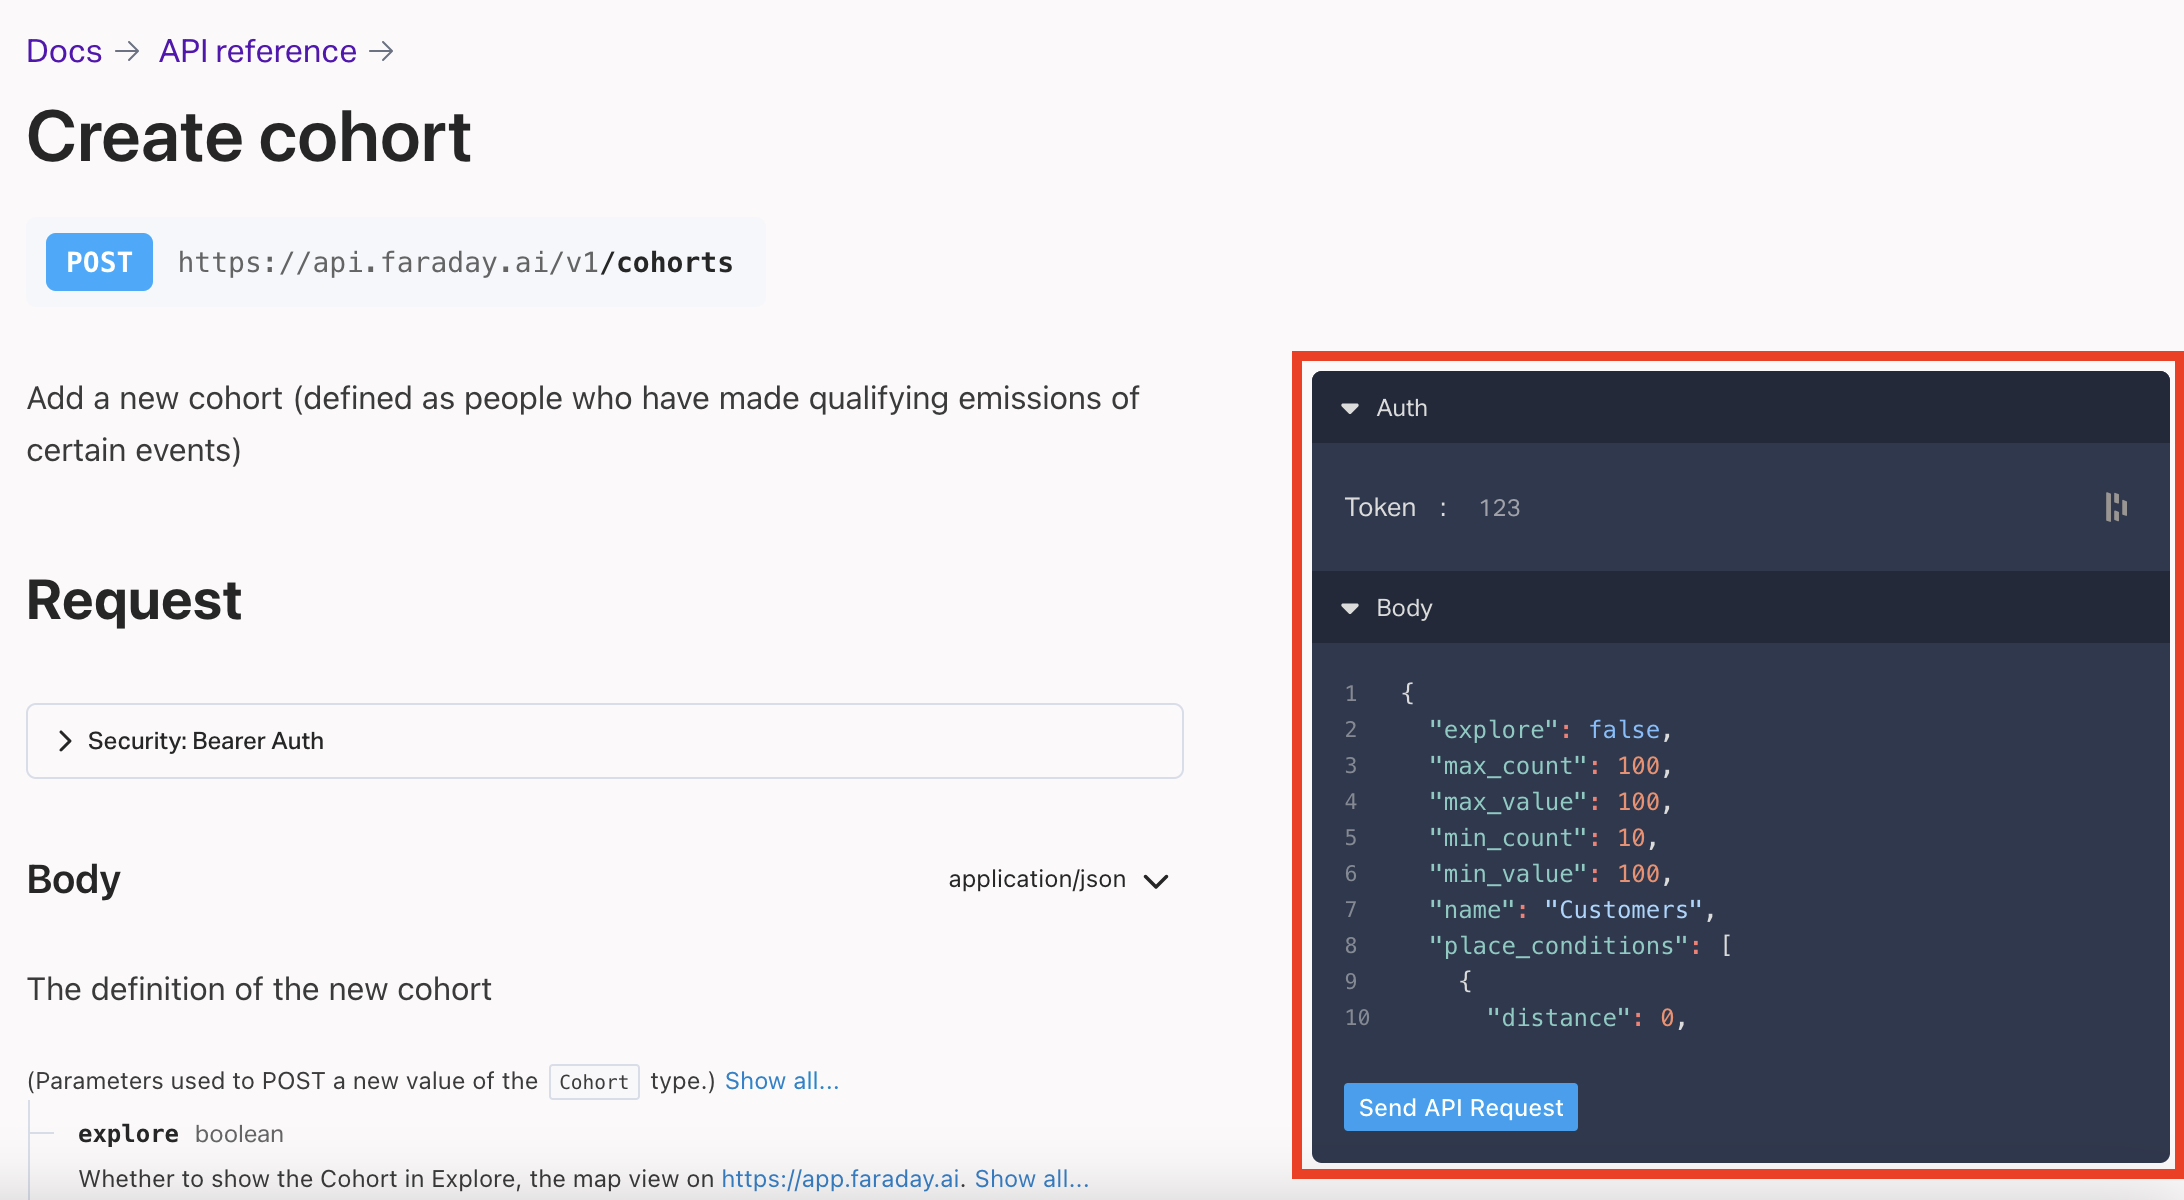
With the place you’d like to geotarget your predictions around ready, you’re now ready to create the cohort of people that you’ll target with that place. To do this, you’ll use the createCohort request.
In your request, you can optionally add parameters for things like min_count / max_count or min_value / max_value if you've created a connection and a dataset, but we’ll focus on the place_conditions parameter as that’s where you’ll specify the place you just created.
You can customize the cohort with recency, frequency, and value parameters based on the event you use to define the cohort, but for this example we’ll keep it simple and create a cohort using the following parameters:
- A name for the cohort.
- A distance of 10,000 meters around the place created above. Note that this value must be in meters.
- The place ID saved from the createPlace request.
{
  "name": "Leads within 10km of storefront",
  "place_conditions": [
	{
  	"distance": 10000,
  	"place_id": "b1ab0efb-f732-478f-8310-6882383c4107"
	}
  ]
}
You can also optionally include an event stream using the stream_name parameter if you’d like this radius-based cohort to also filter people that have completed an event of some kind.
With the createCohort request ready, click send API request, after which you should see a 201 created response for a success.
Voilà, you’ve got a radius-based cohort created based on all your leads within 10km of your storefront.
With it, you can add it to a pipeline’s population to include in order to target this group of people with your predictions. Add both their likelihood to convert via outcome as well as their customer persona via persona set to maximize effectiveness for your next direct mailer.

Faraday
Faraday is a predictive data layer that helps brands and platforms understand who their customers are and what they’re likely to do next. We connect first-party data with privacy-safe U.S. consumer context from the Faraday Identity Graph and deliver production-ready predictions and datapoints you can activate across marketing, sales, and customer journeys.

Ready for easy AI?
Skip the ML struggle and focus on your downstream application. We have built-in demographic data so you can get started with just your PII.


